
 If you’re looking for an easy sewing project to start learning to sew or want to make your own stocking stuffers this Christmas, then it’s time to learn how to make your own headband!
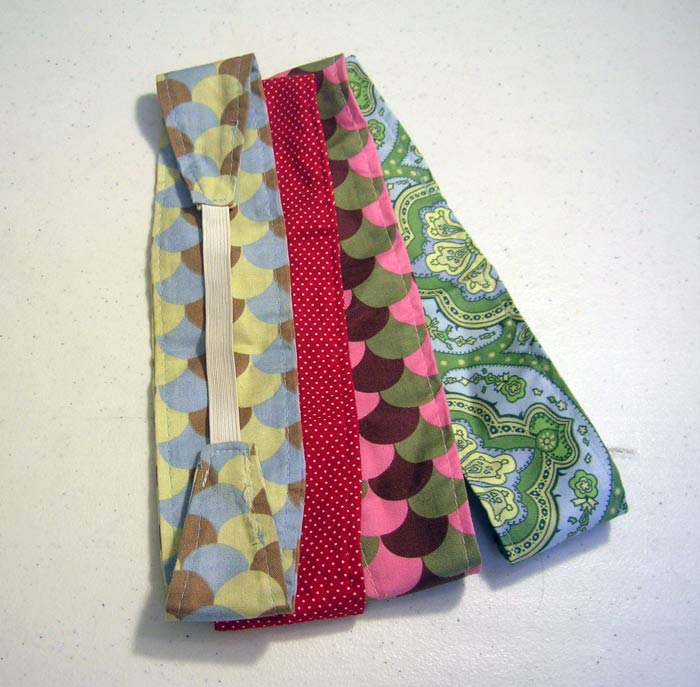
Most crafters have a large stash of scrap fabric and remnants to pull from, but if you’re new to sewing this project doesn’t require a big stash. You can buy a small amount of a fabric you like or rummage through some remnants and seconds bins to find something suitable.
Tools you’ll need:
10 x 4 inch piece of fabric or larger
Matching thread
5 inch piece of 1/2″ elastic
Paper and pencil for making a pattern
Iron for pressing
Scissors

Step 1: Trace Your Pattern. I’m a fan of learning to make your own patterns and make all of my own. I am not a fan of downloadable patterns that require sizing up or down to get the right proportions. This is an easy pattern to start with.
Using graph or plain paper, you’ll need a 3 inch line at top and 1 1/4 inch line at the bottom. Mine is 8 3/4 inches in length and tapers at the ends, but you can customize to whatever width or length you want. Cut this out as half of your pattern. If you have long paper, you can cut on the fold of the 3 inch line to create a 17 1/2 inch pattern. If you don’t have long paper, you can tape 2 of the above sections together.
You can see the full pattern below. I prefer working with the full length rather than a pattern that is cut on the fold because when I made this I used the paper pattern to figure out the length and width I wanted for my head. When figuring out your size, don’t forget to allow for 1/4 inch seam allowance on all sides.
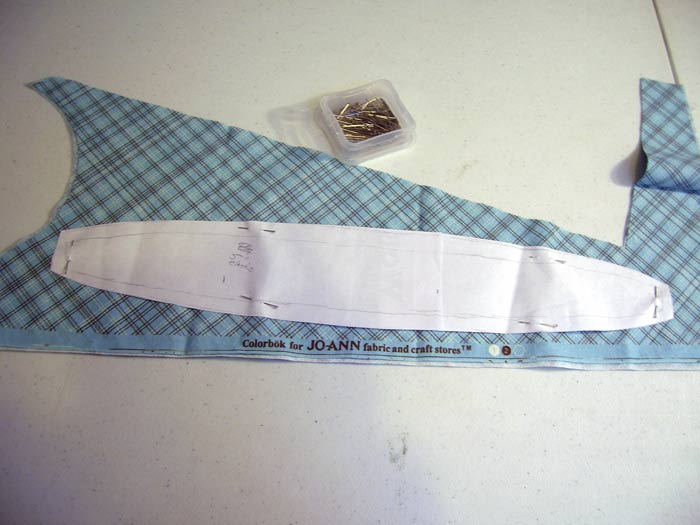
Step 2: Cut out your fabric. Place you pattern on the part of the fabric you want for your headband. For prints, take notice of which part will be visible. Pin the paper pattern on the fabric and then cut out around the pattern making the line as smooth as possible.
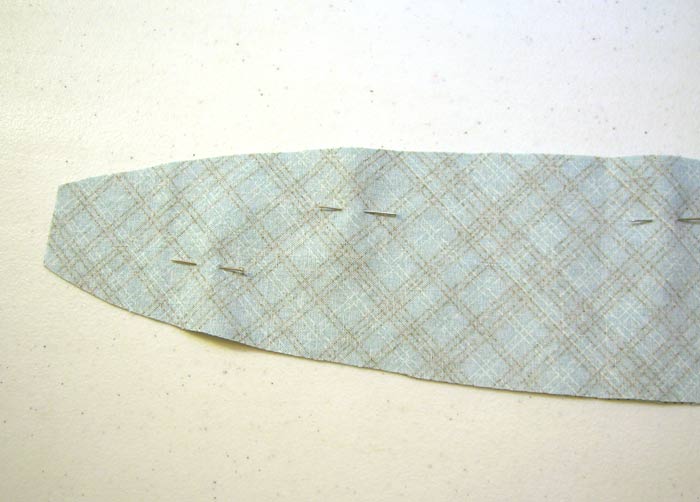
Step 3: Place the 2 fabric pieces wrong (unprinted) sides together and pin. You want the pins parallel to the fabric.

Step 4: Sewn with a 1/4 inch seam allowance on both of the long sides, leaving a 2 inch gap on one of the sides. Leave the short ends open for now as the elastic will be sewn in here. When making your pattern, you can make a larger seam allowance but for something simple I generally sew without trimming.
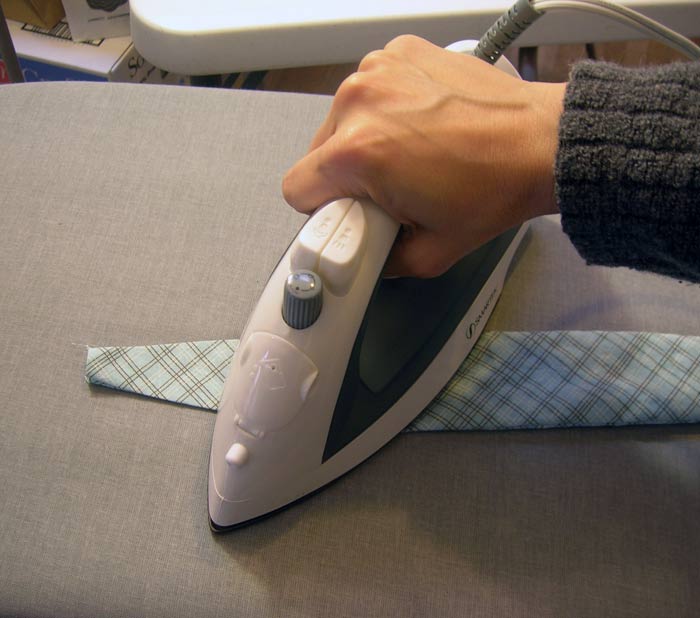
 Step 5: From the 2 inch gap, flip the band inside out so the printed side of the fabric is now on the outside. Press the long sides with a hot iron and then fold in the short ends so the entire headband has no cut edges showing.

Step 6: Top stitch the two long sides. Top stitching is just sewing close to the edge for a decorative effect, but I also like how it holds a pressed edge in place.
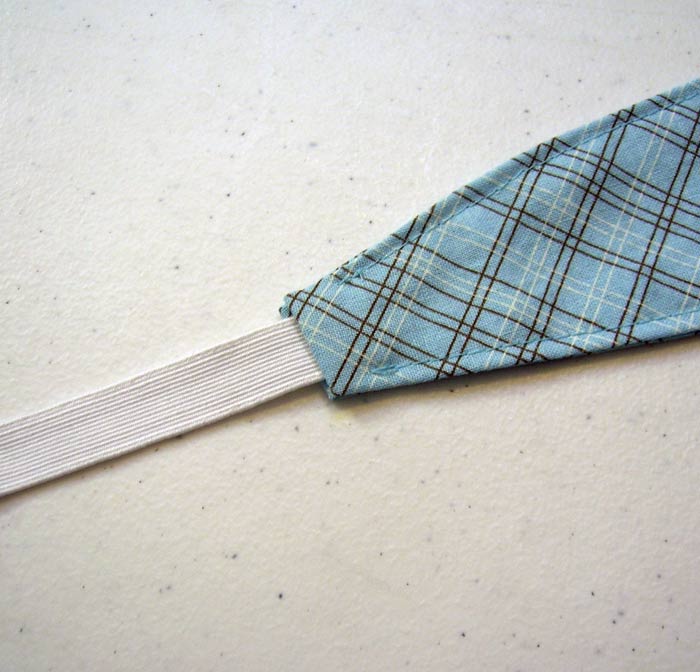
Step 7: Cut a 5 inch piece of elastic. I’m using 1/2 inch wide, but you can use what you prefer. Insert 1/2 inch of the elastic into one of the short ends of your headband and secure with a pin.
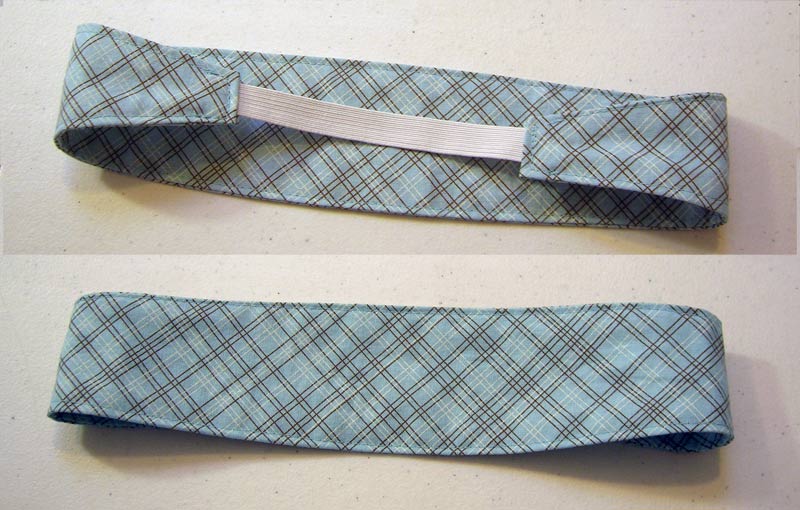
Step 8: Topstitch across this end, backstitching to ensure the elastic is firmly caught in the seam. Now do the same thing with the other end of the elastic on the opposite side, making sure the elastic does not get twisted. You want it to lay flat as in the above photo.
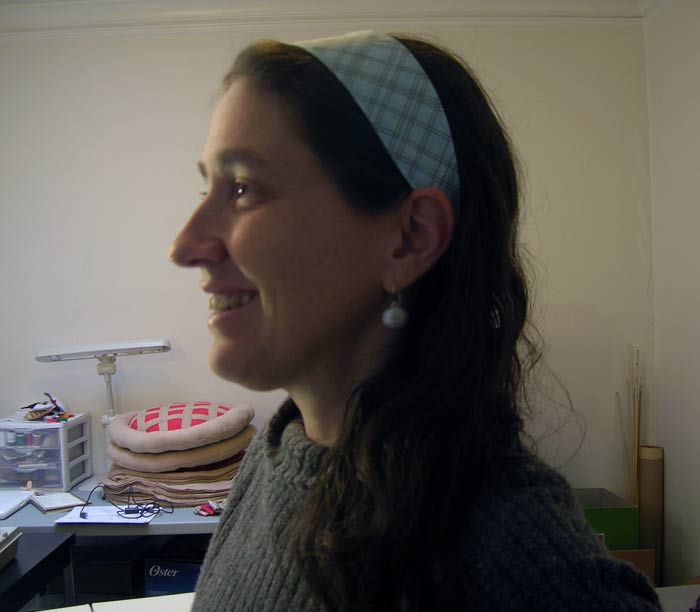 Step 9: Put it on! Wear it with pride! Give it to someone else! Now you’re ready to sew a metric ton of headbands. Ask any questions about this headband tutorial in the comments and I’ll help you out. Make matching ones for you and your cats.
If I wore a headband, would I look more like Rafael Nadal or Roger Federer?
Borg?